Large, unoptimized images are one of the most common reasons websites load slowly, emails bounce, and social media posts get cropped awkwardly. Whether you're a developer preparing assets for production, a marketer uploading product photos, or someone just trying to email a picture that isn't 8MB, knowing how to resize images properly is a skill everyone needs. In this guide, we'll walk through exactly why image size matters, how to resize images correctly for different platforms, and how to do it quickly using our free Image Resizer tool.
Why Image Size Matters More Than You Think
Every image you upload carries weight — literally, in kilobytes, and figuratively, in how it affects user experience. Oversized images slow down page load times, increase bounce rates, and can even hurt your search engine rankings. Google's Core Web Vitals, which factor into SEO rankings, heavily weigh metrics like Largest Contentful Paint (LCP), and images are frequently the biggest culprit behind poor scores.
Beyond SEO, oversized images cause practical headaches: slow-loading email attachments, rejected uploads on forms with strict file size limits, and social media platforms that auto-compress your images in ways that ruin quality because you didn't resize them correctly beforehand.
Common Scenarios Where You Need to Resize Images
- Website content: Blog thumbnails, product photos, and hero banners each require specific dimensions and proper sizing. Uploading oversized images drastically slows down page loading speeds, increasing bounce rates and negatively impacting your Google SEO rankings. Proper sizing also prevents Cumulative Layout Shift (CLS), ensuring visitors enjoy a smooth browsing experience.
- Social media posts: Platforms like Instagram, Facebook, LinkedIn, and Twitter/X each have unique display rules and optimal image dimensions. Uploading improper sizes causes platforms to awkwardly auto-crop your images or apply aggressive compression, degrading overall resolution, visual appeal, and professionalism.
- Email attachments: Major email providers like Gmail and Outlook enforce strict attachment size limits. Sending overly large image files increases the likelihood of emails bouncing or being flagged by spam filters. Resizing images ensures quick delivery and smooth opening directly in the recipient's inbox.
- Online forms and applications: Job portals, government visa platforms, university applications, and official profile uploads often enforce strict file size caps (e.g., under 500KB) and precise pixel dimensions. Unoptimized images lead to instant file rejection or failed application submissions.
- E-commerce listings: Top marketplaces like Amazon, Etsy, eBay, and Shopify require precise image dimensions to ensure optimal display and enable high-definition zoom features. Well-resized, optimized product photos build customer trust, boost conversion rates, and maintain a polished online storefront.
Recommended Image Dimensions by Platform
| Platform / Use Case | Recommended Dimensions | Ideal File Size |
|---|---|---|
| Website Hero Banner | 1920 x 1080 px | Under 200 KB |
| Blog Thumbnail | 1200 x 630 px | Under 100 KB |
| Instagram Post | 1080 x 1080 px | Under 300 KB |
| LinkedIn Post | 1200 x 627 px | Under 200 KB |
| Email Attachment | 800 x 600 px | Under 150 KB |
| Profile Picture | 400 x 400 px | Under 50 KB |
How to Resize an Image Online in 3 Simple Steps
Using our Image Resizer tool, you can resize any photo in seconds — no software downloads, no watermarks, and no signup required.
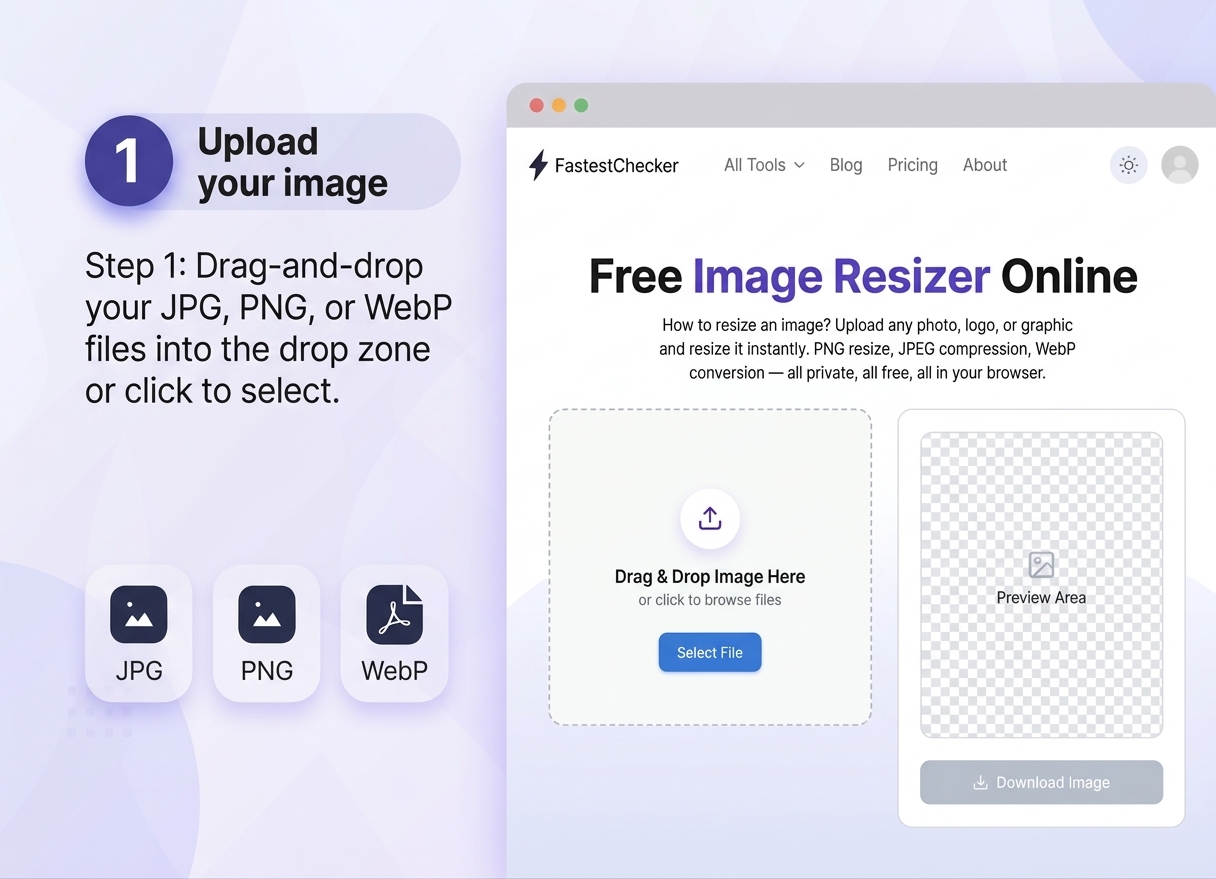
- Upload your image: Easily upload your photo by dragging and dropping it into the drop zone or selecting it directly from your computer, phone, or tablet. The tool seamlessly supports all modern and widely used formats, including JPG, PNG, and WebP. You can upload single or batch files instantly without downloading software, creating an account, or providing personal information.
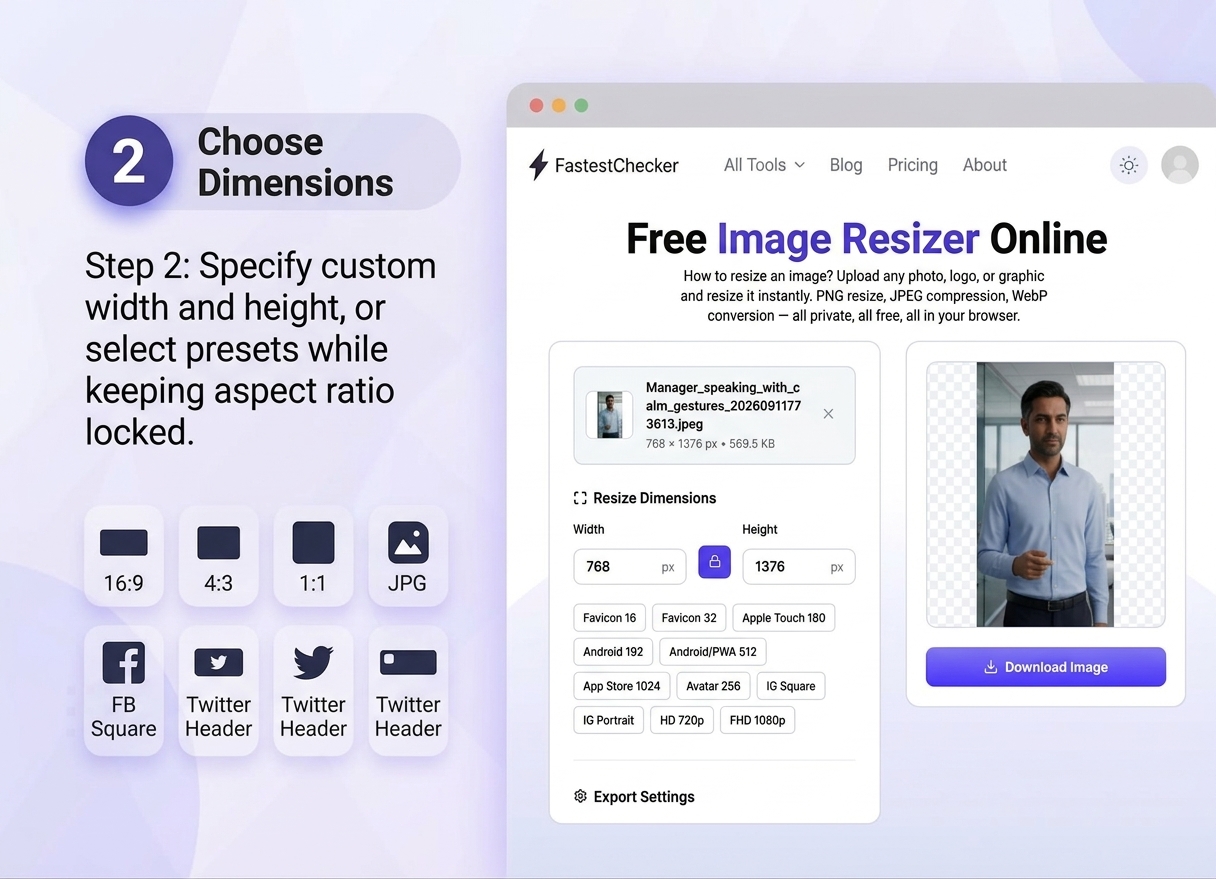
- Choose your dimensions: Specify custom width and height dimensions in pixels, or choose from pre-configured preset sizes crafted specifically for Instagram, Facebook, LinkedIn, Twitter, website banners, and print layouts. Keep the "Lock Aspect Ratio" feature toggled on to automatically preserve original proportions and prevent unwanted stretching or distortion.
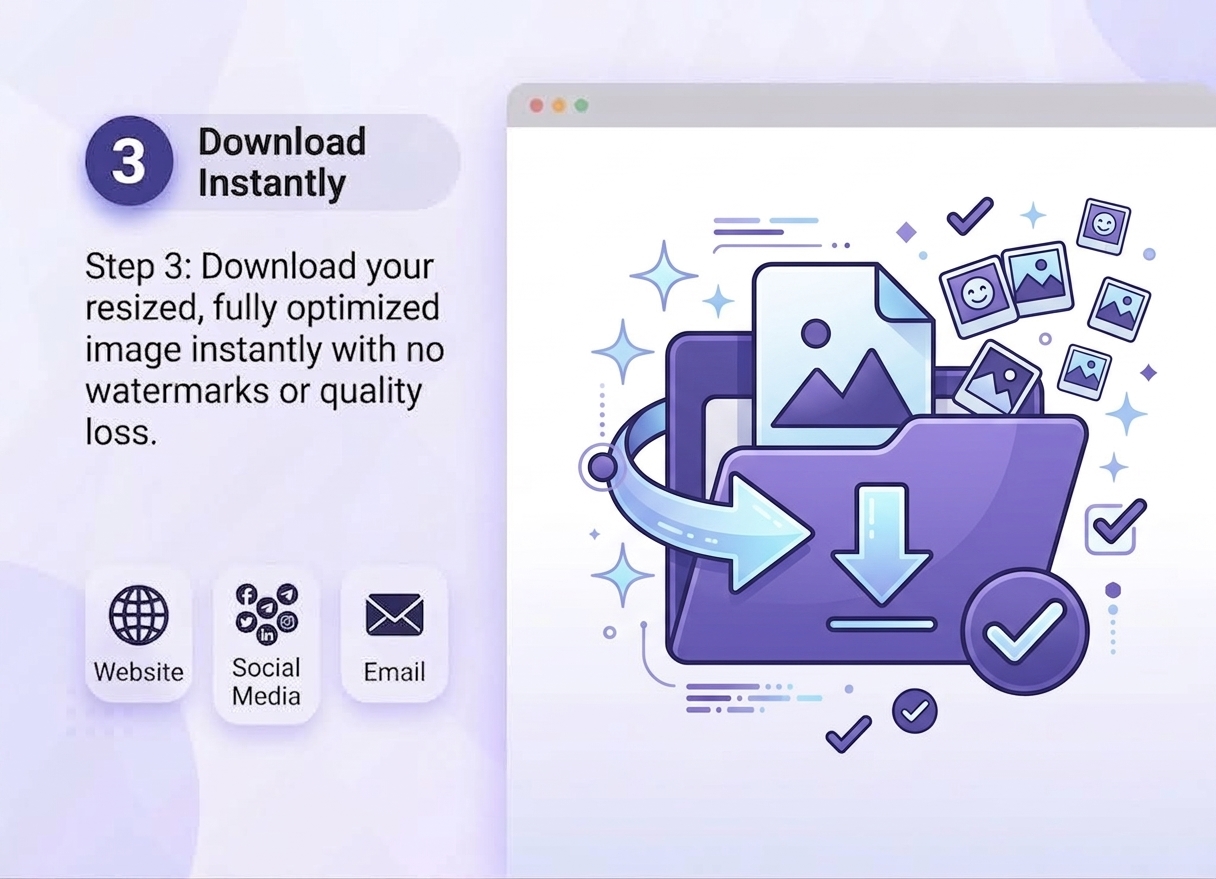
- Download instantly: Once your preferred dimensions are set, your resized image is processed in seconds. You can instantly download the fully optimized file with no visible loss of visual clarity or crisp details. The downloaded file contains zero watermarks, restrictions, or hidden fees, making it immediately ready for website deployment, social media publishing, or email attachments.
Pro Tip: Always maintain the aspect ratio when resizing to avoid stretching or distorting your image. Most good resizer tools, including ours, offer a "lock aspect ratio" option to prevent this automatically.
Resizing vs. Compressing: What's the Difference?
These two terms are often confused, but they solve different problems. Resizing changes the pixel dimensions of an image (e.g., from 4000x3000 to 1200x900), which directly reduces file size because there are fewer pixels to store. Compressing keeps the same dimensions but reduces file size by optimizing the encoding, sometimes sacrificing a small amount of visual quality. For the best results, especially on websites, you typically want to do both: resize to the dimensions you actually need, then compress for final delivery.
How Image Size Impacts Your Website's Performance
If you run a website, oversized images are frequently the single biggest performance bottleneck. Before and after resizing your images, it's worth checking your site's overall performance using our PageSpeed & Web Vitals Checker to see the real impact on load time and Core Web Vitals scores. A page that drops from 5MB to 800KB in total image weight can see load times improve dramatically, which correlates directly with lower bounce rates and better search rankings.
Best Practices for Resizing Images Without Losing Quality
- Start with the highest quality original: You can always resize down, but resizing up (upscaling) a low-resolution image will introduce blur and pixelation.
- Use the right format: JPG works best for photographs, PNG for images requiring transparency, and WebP for the best balance of quality and file size on modern websites.
- Resize to the exact dimensions needed: Don't upload a 4000px image and let the browser scale it down with CSS — this wastes bandwidth and slows load times unnecessarily.
- Batch process when possible: If you're resizing dozens of product photos, look for tools that support bulk resizing to save time.
- Always preview before publishing: Check how your resized image looks on both desktop and mobile before finalizing.
Bringing It All Together
Resizing images correctly is a small habit that pays off enormously — faster websites, better SEO, smoother social media posting, and fewer rejected uploads. With a free tool like our Image Resizer, there's no reason to keep uploading oversized files that slow everything down. Pair it with our PageSpeed & Web Vitals Checker to measure the real-world performance gains, and you'll have a complete, professional image optimization workflow in minutes.
Interpolation Algorithms: Bicubic vs. Bilinear vs. Nearest Neighbor
When resizing raster graphics, image processing libraries synthesize new pixels using interpolation algorithms:
| Resampling Method | Sample Window | Visual Fidelity | Optimal Application |
|---|---|---|---|
| Nearest Neighbor | 1 nearest pixel | Pixelated, sharp edges | Pixel art, barcode generation, UI screenshots. |
| Bilinear Interpolation | 2x2 pixel grid (4 points) | Moderate smoothing | Real-time mobile graphics rendering. |
| Bicubic / Lanczos3 | 4x4 or 6x6 sinc window | High-fidelity tonal gradients | High-resolution photography, web banner scaling. |
For modern web delivery, converting resized images into modern formats like WebP or AVIF reduces payload weight by 30% to 50% compared to legacy JPEG without visible artifact degradation.
Lossless vs. Lossy Image Compression Mechanics
Understanding compression boundaries prevents accidental image degradation during web publishing:
- Lossless Compression (PNG, WebP Lossless): Preserves 100% of the original pixel data by applying predictive filtering and entropy encoding (DEFLATE / LZ77). Ideal for logos, diagrams, and technical illustrations with sharp text;
- Lossy Compression (JPEG, WebP, AVIF): Discards high-frequency visual details that the human eye cannot perceive under the Discrete Cosine Transform (DCT). Setting quality between 80% and 85% delivers up to 70% reduction in file size without perceptible loss in fidelity.
Frequently Asked Questions
Does resizing an image reduce its quality?
Resizing down (making an image smaller) generally preserves visual quality well since you're simply reducing pixel count. Resizing up (enlarging a small image) can cause blur or pixelation because new pixels must be artificially generated.
What is the best image size for website use?
It depends on placement, but most website images perform best between 800px and 1920px wide, kept under 200KB in file size. Using our Image Resizer, you can match exact dimensions for banners, thumbnails, and product photos.
Is it free to resize images using FastestChecker's tool?
Yes, the Image Resizer on FastestChecker is completely free to use, with no signup, watermarks, or download limits required.
What image formats can I resize?
Our Image Resizer supports the most common formats including JPG, PNG, and WebP, covering virtually all web, social media, and email use cases.
Muhammad Asad Arshad is the Founder and Lead Software Architect of FastestChecker, specializing in client-side Web APIs, cryptographic standards, and network diagnostics.